Showing posts with label STEAM. Show all posts

Wednesday, May 27, 2015

Engineering with the Magic School Bus and Marshmallows


Another great STEAM (Science, Technology, Engineering, Art, and Math) programming idea borrowed from PBS Kids' Zoom Activities: build bridges out of toothpicks and marshmallows!  I gave children the building directive after we watched Magic School Bus Under Construction: Bridge Building.  

This program was simple, required very little preparation, and inspired great amounts of creativity and design concepts from elementary aged participants.  

To prepare, wrap two stacks of books (they must be the exact same books so that the stacks are an even height) in newspaper so you don't get sticky marshmallow residue on your library books.  This will serve as the base for your bridge.  

Watch the "Bridge Building" episode of The Magic School Bus Under Construction DVD (about 20 minutes long) and see Mrs. Frizzle's class create a bridge out of Q-tips and gum drops.

After the children see the Magic School Bus gang building a bridge, they will be eager to try doing so themselves.  Take a look at what our little aspiring engineers and architects created!  As an added challenge, once you get a bridge across your two stacks of books, add a paper clip attached to a cup and throw pennies in the cup to see how strong your bridge is.


Tuesday, August 5, 2014

STEAM Team: Nature Hide and Seek with the Smithsonian American Art Museum

Peacock in the Woods, Abbott Handerson Thayer, 1907

Science and Art intersected in last week's STEAM Team program for children aged 6-12. Experts from the Smithsonian American Art Museum came to the Library to talk to attendees about Abbott Handerson Thayer and his artwork.

Here are some Thayer's paintings that we discussed.  Thayer is credited by many to be the "Father of Camouflage", in the way he painted animals whose colors adapted to their natural surroundings so that they would be hidden, or camouflaged from predators. We learned about countershading, disruptive patterning, and other ways of camouflaging through art.

According to Richard Meryman from Smithsonian Magazine, "Thayer contended that even brilliantly plumaged birds like the peacock can blend into, and thus be camouflaged by, their habitats." Thayer created the above painting, Peacock in the Woods, to illustrate this theory. Thayer was often criticized for his theories on camouflage, even by Theodore Roosevelt himself, but that never stopped him from rallying for its use as a military strategy during World War I. He thought that a wartime boat could be camouflaged in water the same way an animal camouflages itself in nature, another theory we will be discussing during STEAM Team.


Angel, Abbot Handerson Thayer, 1887

After our discussion about Abbott Handerson Thayer and his artwork, participants of STEAM Team got the chance to create their own piece of art of a camouflaged animal, using collage materials such as magazines, patterned paper, glue, feathers, and more!

My favorite part of the program?  The moment an extremely eager eight year old boy excitedly interrupted the Smithsonian's presentation to announce that Thayer's Angel painting "LOOKS JUST LIKE MISS CASSIE."

Tuesday, July 8, 2014

STEAM Team: Oobleck! Dr. Seuss and Science


Literature and/or reading is not a component of STEAM (Science, Technology, Engineering, Art and Math), but must I mention how much it is a part of LIBRARIES? Didn't think so!  This week's STEAM Team focused on science and literature.

Inspired by Dr. Seuss' Bartholomew and The Oobleck, we conducted a science experiment by creating the mysterious green substance known as Oobleck, which has both solid and liquid properties! That is, if you pour it or dip your fingers in it, it acts like a liquid. But if you squeeze it, push it, or otherwise apply pressure to the mixture, it acts like a solid! Want to "walk on water"? Make enough Oobleck to cover your floor! (Disclaimer: this is not recommended, as clean-up may require a visit from the Cat in the Hat.)

This program was met with much excitement and enthusiasm, which I think is to be expected for anything involving "green slime".  I began the program by book talking Bartholomew and the Oobleck, and then read the Royal Magicians' magic spell aloud (paragraph 32):
Oh, snow and rain are not enough!
Oh, we must make some brand-new stuff!
So feed the fire with wet mouse hair,
Burn an onion. Burn a chair.
Burn a whisker from your chin
And burn a long sour lizard skin.
Burn yellow twigs and burn red rust
And burn a stocking full of dust.
Make magic smoke, green, thick and hot!
(It sure smells dreadful, does it not?)
That means the smoke is now just right
So, quick! Before the day gets light,
Go, magic smoke! Go high! Go high!
Go rise into the kingdom’s sky!
Go make the oobleck tumble down
On every street, in every town!
Go make the wondrous oobleck fall!
Oh, bring down oobleck on us all!
I mixed up a batch of Oobleck myself, explaining the ingredients and measurements as I went along. As I poured a bit in each child's plastic cup, I asked them if they thought it was liquid or solid.  Most of them guessed liquid.  Then I asked them to pick up some of the Oobleck and try to roll it into a ball.  "Is it still liquid?" I asked.  They got very excited when they realized that it was both a liquid AND a solid- the scientific term for which is "non-Newtonian".  Lots of experimenting ensued.

I was glad I did not allow each child to mix up his/her own batch- it actually takes a bit of trial and error to get the exact right consistency; and the mess I was left with after the experiment was plenty.  It looked much worse than it actually was, however.  Since Oobleck is just cornstarch and water, I waited until it dried and vacuumed it right up out of the carpet.  Tables and chairs needed a simple Clorox wipe.

I sent each child home with a handout including the following recipe and and experiment ideas, along with this coloring sheet from Seussville, one of my favorite websites on the interwebs.  The coloring sheet was also a nice supplement for toddling little brothers and sisters who were too young to participate in the experiment (intended for children ages 6-12).

Oobleck Recipe!

Ingredients:
  • 1 cup water
  • 1.5 - 2 cups cornstarch
  • Green food coloring 
Directions:
Mix water, cornstarch, and food coloring in a bowl. Start with water and add cornstarch slowly until your Oobleck is the right consistency: it should feel a little but like honey and tear a little if you drag your fingers over it.

Experiments:
  • Form Oobleck into a ball, then let go, letting the mixture run between your fingers. 
  • Pour Oobleck onto a plate and slap it with your hand. 
  • Try to form Oobleck into a shape. Can you make it stay that way? 
  • Drop different items into Oobleck (pennies, paperclips, popsicle sticks) – do they float or sink? 
  • Poke the Oobleck quickly. What happens? How does it feel? 

Continue Experimenting at Home:
  • What happens when you put Oobleck in the Freezer? 
  • What happens when warm up Oobleck in the sun? 
  • Put Oobleck in both a sealed and an unsealed container on the window sill. What happens over time? Draw illustrations of the results. 
  • Make Oobleck with different variations of ingredients: hot water, cold water, more water, less water, more cornstarch, less cornstarch, etc. Are the new mixtures’ properties any different?

Tuesday, May 27, 2014

Fizz, Boom, Read!

Our Library's theme for this year's Summer Reading Program is "Fizz, Boom, Read!" with an emphasis on all things related to science.  We will be encouraging reading and activities with a focus on STEAM (a framework for learning based on Science, Technology, Engineering, Art, and Math).  There is a huge push for STEAM (or STEM) in schools and libraries across the nation.  (If you backtrack to my first-ever blog post on Shelf Indulged, you will see that the last Library I worked at had a Summer Reading Program theme of "Full STEAM Ahead... which I also made robots for because they are just the cutest.)

For our large display board in the hallway outside of the Chidren's Department, my very talented colleagues made a bulletin board display involving robots, test tubes, atoms, and DNA sequences!  I made the banner above the board, which reads, "Get Ready For A STEAMY Summer!"  It's being carried in the air by cute little handmade flying robots, upon whom I have not yet bestowed names.

Tuesday, April 1, 2014

STEAM Team: Robot Making!


This week's STEAM Team combined Technology, Engineering, and Art when I had participants create their own "robots" out of recyclable materials.  It only took me a couple of weeks to safe dozens of recyclables, especially thanks to it being the time of the year for Girl Scout Cookies.

Along with cans, boxes, aluminum foil, and bottles of all sorts, I provided many random things from the craft closet that I thought would make good robot parts: googly eyes, buttons, beads, dixie cups, masking tape, and plastic springs.  

Boys and girls alike were ECSTATIC about this program.  They loved picking out their own robot
parts and many kids made more than one robot.  I encouraged the children to design their robot with a purpose by asking, "What would you like your robot to do?  I want a robot that will walk my dog!"

They were creative and thoughtful, and used wonderful engineering skills to make their robots stand and balance. Many of them created their robots while not only doing the robot, but also speaking in robot language, which was pretty amazing.

This program was singlehandedly the most successful I've had in promoting our library collection, as every participant wanted a robot book to take home along with their new robot friend.


Saturday, March 15, 2014

STEAM Team: Art with Andy Warhol

Every Friday, our library hosts a "STEAM Team" program for children aged 6-12. STEAM is a framework for learning based on Science, Technology, Engineering, Art, and Math. 

I of course had to choose the main topic of Art when I led this program because there's really no subject I enjoy more.  I decided to have the children focus on the great American Pop artist Andy Warhol.  We started the program with a viewing of  Andy Warhol from Mike Venezia's "Getting to Know the World's Greatest Artists" series, based upon the identically titled popular book series also by Venezia.  The movie was about 20 minutes long, and was colorful and engaging for the kids. I had a child as young as three and as old as 10 present, and it seemed to appeal to all the age groups.


After the film, we made our own Pop Art projects.  I pre-cut many different colors of rectangles, kittens, and puppies (using the AccuCut) so that kids could pick out their own colors.  When they chose four rectangles, they glued them on to a sheet of construction paper for the background of the project. I made a sample project layering the kittens in the style of Warhol's Pop Art prints.  Not only did the children catch on to the layering technique right away, but I was also thrilled when they got super creative with their own projects.  (I always try to encourage them that their projects do not need to look like mine- I want them to be creative!)  As you can see, that is exactly what they did- we even had a child who wanted to use puppies and kittens (see below)!  They loved picking out their own colors and so far I haven't met a child get who did not like playing with glue.  Parents were thrilled and said they could not wait to come back for another STEAM event the following week. 


Sunday, November 24, 2013

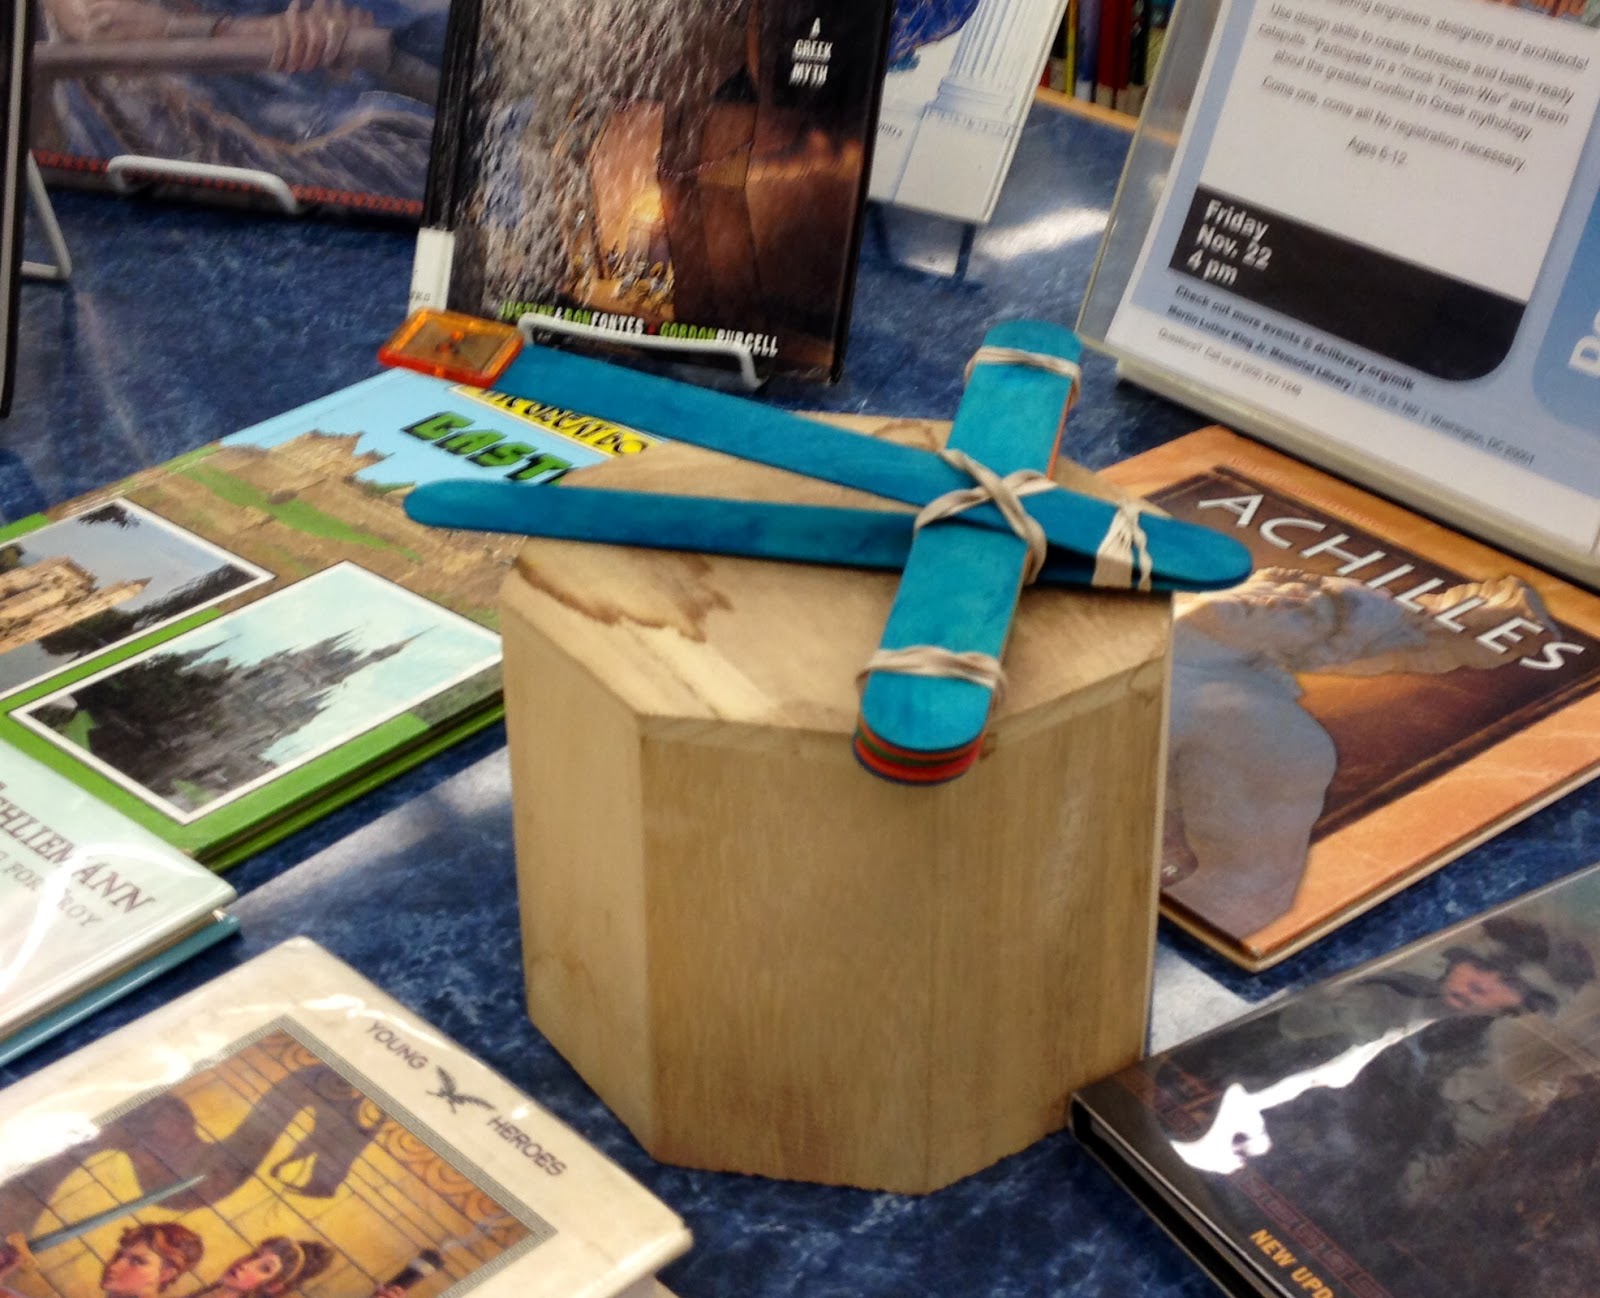
Design Challenge: Catapults

As an alternative to the typical arts and crafts programs we often see in libraries, I decided to do a little something different by creating a "Design Challenge" for the kids.  As opposed to simply creating something, the kids are challenged to build a structure using engineering skills and applied science concepts.

This week I decided to have the kids build catapults. I introduced the idea of catapults used for battle during the Trojan War of Greek Mythology, telling a short story about the Trojan War as background.  I like to tie the design challenge back to some literary elements whenever possible.  This also gave me the opportunity to offer books on Greek Mythology available for checkout at the conclusion of the program.

While I do offer a "model" structure for the kids to look at to base their own structure design on, I encourage them to experiment with different elements of the design to see if it makes a difference in its functionality.  For example, by offering the questions, "I wonder how we could make the catapult shoot farther?" or "What would happen if the catapult's base was wider?" or "Does the amount of rubber bands I use make a difference?", kids are prompted and encouraged to explore different design techniques and each child ends up with a unique and individual product.

Once the kids have built their catapults, it is time for battle!  I provided little colored pom-poms for them to load and launch from their catapults.  They can try to achieve different goals such as going the longest distance, shooting the highest, or hitting a specific target.  The possibilities are endless in this Design Challenge program!